
How to use the All-in-One Universal Nail Station
One device. Total control.
Everything you need for a pro-level mani.
Dust-free, drill-ready, and lighting sorted.
Step 1
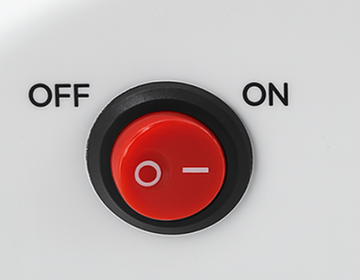
Switch it on
Plug in to the wall, and flip the red power button to start your station.
Step 2
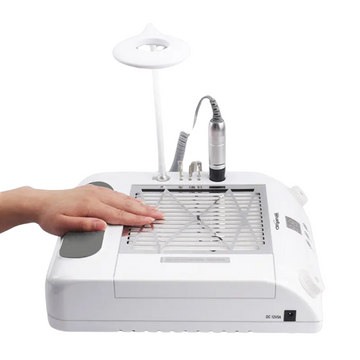
Get comfortable
Rest your hand on the built-in pillow for extra support while you work.

Step 3
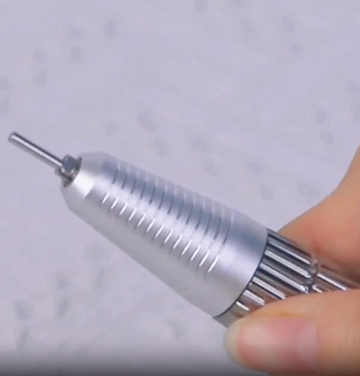
Plug in your tools
- Insert your sanding/polishing pen into the Sanding Pen Jack
- Connect the LED lamp and any accessories via the LED interface
- Add the foot pedal if you prefer hands-free control
Step 4
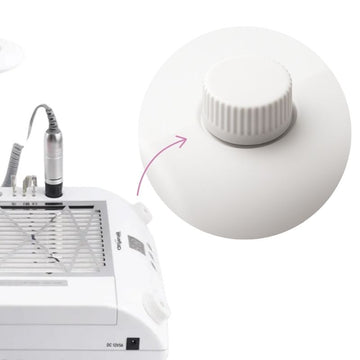
Adjust vacuum suction
Use the fan/vacuum speed dial to select your desired suction level.
Start on low for light dust, and increase for gel or acrylic removal.
Step 5
Set your drill controls
Choose Forward or Reverse on the switch based on your technique or dominant hand, and go between Hand or Foot control depending on what feels right for you.
Step 6
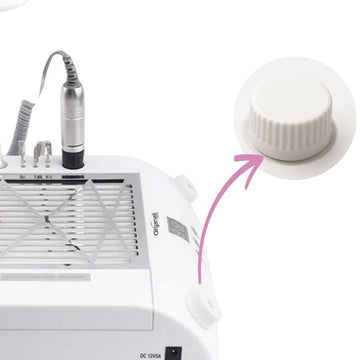
Adjust drill speed
Dial in the perfect power for filing, shaping, or removal.
*Drilling Advice*
Hold like a pencil for better control, and file at a 45° angle.
Keep the bit moving to avoid heat spots, and use light pressure! The tool does the work.
Step 7
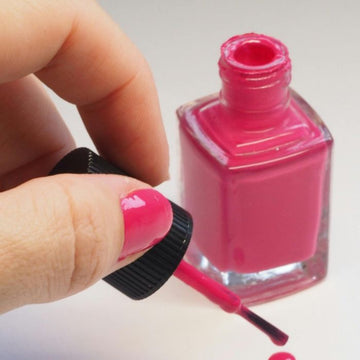
Appy polish or gel
After prepping your nails, apply your chosen base coat, colour, or builder gel.
Step 8
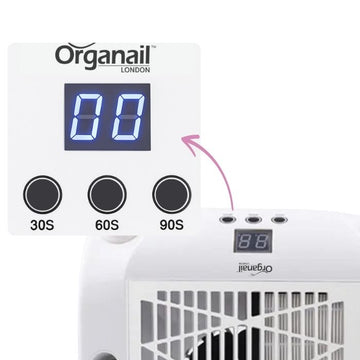
Cure and time with the lamp
Use the built-in LED lamp for curing. Select from timer options (30s, 60s, 90s), or simply insert your hand to activate the motion sensor.
The lamp will automatically turn off when your hand is removed.
Step 9
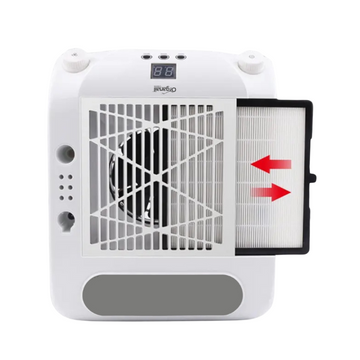
Clean with ease
After your session, slide open the filter drawer to empty out the dust.
That’s it, no fuss, no mess.


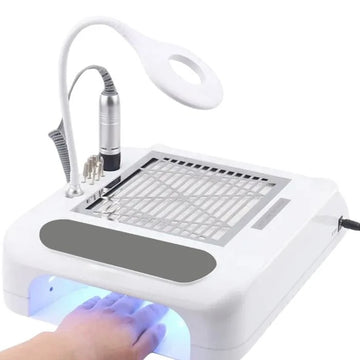
All-in-One Universal Nail Station
Work like a pro, look like a boss. The all-in-one nail powerhouse that brings salon vibes to your table.
The Universal Nail Station includes everything from a built-in vacuum to an LED curing lamp, hand pillow, and even a foot controller.
We designed it to give anyone a pro toolkit in one sleek machine. Plug it in, and you’re ready to grind, drill, and detail with ease.
With your 3-Year Warranty, you're literally promised!*
